Move a OneNote notebook to OneDrive
Move a OneNote notebook to OneDrive
If you plan on sharing a OneNote 2013 notebook—with yourself or others—it's best to create it on OneDrive right from the start. However, you can move a notebook to OneDrive after you've created it on your computer.
Note: If your organization uses SharePoint, you can share a OneNote notebook on SharePoint instead of on OneDrive.
-
In OneNote, open the notebook that you want to share on OneDrive.
-
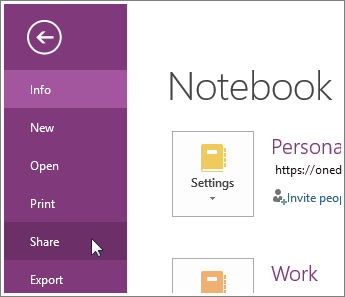
Choose File > Share.

-
Select a location for your notebook, or choose Add a Place and then sign into your OneDrive account. If you don't already have one, you can sign up for free.
-
Enter a name for your notebook (if you like, you can keep the name it already has), and then choose Move Notebook.
-
After you see the location in the list, select it.
OneNote moves the notebook from your computer to OneDrive, and confirms the move with the message: "Your notebook is now syncing to the new location."
Tip: After a notebook is in OneDrive, you can share it with others by clicking File > Share > Share with People. This will let you send the people you select an email message with a link to your shared notebook. Depending on the permissions you've set for them on OneDrive, they'll be able to either view or also modify your notes there.
